How I turned my blog into a Docker based development paradise 🐳 - Try It Yourself!
Written by - Millan Kaul
Dockerizing my blog running on Ruby Gem 💎 and Jekyll has proven to be a game-changer. In this short blog, I’ll share how straightforward the process was, the benefits of Dockerization, and the convenience it offers for making changes and running the blog locally.

No crap, straight to code first
Dockerizing a Jekyll blog involves creating a Dockerfile and a docker-compose.yaml file.
These files encapsulate the environment and dependencies needed to run the blog on your local machine or on cloud seamlessly.
Dockerfile
# Use the official Jekyll image
FROM jekyll/jekyll:latest

# Set the working directory
WORKDIR /srv/jekyll

# Copy the Gemfile and Gemfile.lock to the container
COPY Gemfile Gemfile.lock ./

# Install Jekyll and dependencies
RUN bundle install

# Copy the rest of the application code to the container
COPY . .

# Expose the default Jekyll port
EXPOSE 4000

# Command to run the Jekyll server
CMD ["jekyll", "serve", "--host", "0.0.0.0"]
docker-compose.yaml
version: '3'
services:
  jekyll:
    image: qwm
    ports:
      - "4000:4000"
    volumes:
      - "./:/srv/jekyll"
    command: ["bundle", "exec", "jekyll", "serve",  "--force_polling" , "--host", "0.0.0.0"]
Running Locally:
With the Dockerfiles and docker-compose.yaml in place, running the Jekyll blog locally becomes a breeze.
Execute the following commands:
# Build the Docker image
$ docker-compose build

# Run the Jekyll server locally
$ docker-compose up
This will initiate the Jekyll server, and you can access your blog locally at http://localhost:4000
Benefits of Dockerization
-
Isolation: Docker encapsulates the blog and its dependencies, ensuring consistency across different environments
-
Portability: The Dockerized setup is easily transferable, making it convenient to share with collaborators ( linux / mac / windows).
-
Ease of Development: Making changes and testing locally becomes seamless with the ability to run the blog in a controlled Docker environment.
I am just loving it 😍
Wait ….You may ask Why, why Dockerize ?
Q. Why Dockerize a Blog?
Dockerizing my Jekyll blog was a game-changer for me!
It’s all about creating a smoother experience. Regardless of my setup, I can dive into my blog hassle-free ( local, cloud..).
Q. How Does Docker Benefit Blog Development?
Docker brings a level of consistency
..and ease to blog development that I find invaluable. It’s not just about the code; it’s about creating an environment effortlessly and the benefits extend beyond my own work.
Q. Can I Still Make Changes Locally?
Absolutely!
Dockerization is designed to enhance, not limit, the development process. I’m just as passionate about the hands-on, creative aspect of blogging as you are. With Docker, making changes locally becomes a joy. You can tweak, experiment, and see your ideas come to life in real-time.
It’s my way of extending an invitation to the community to explore and collaborate, creating a more accessible space for sharing insights and ideas. 🤗🤗🤗
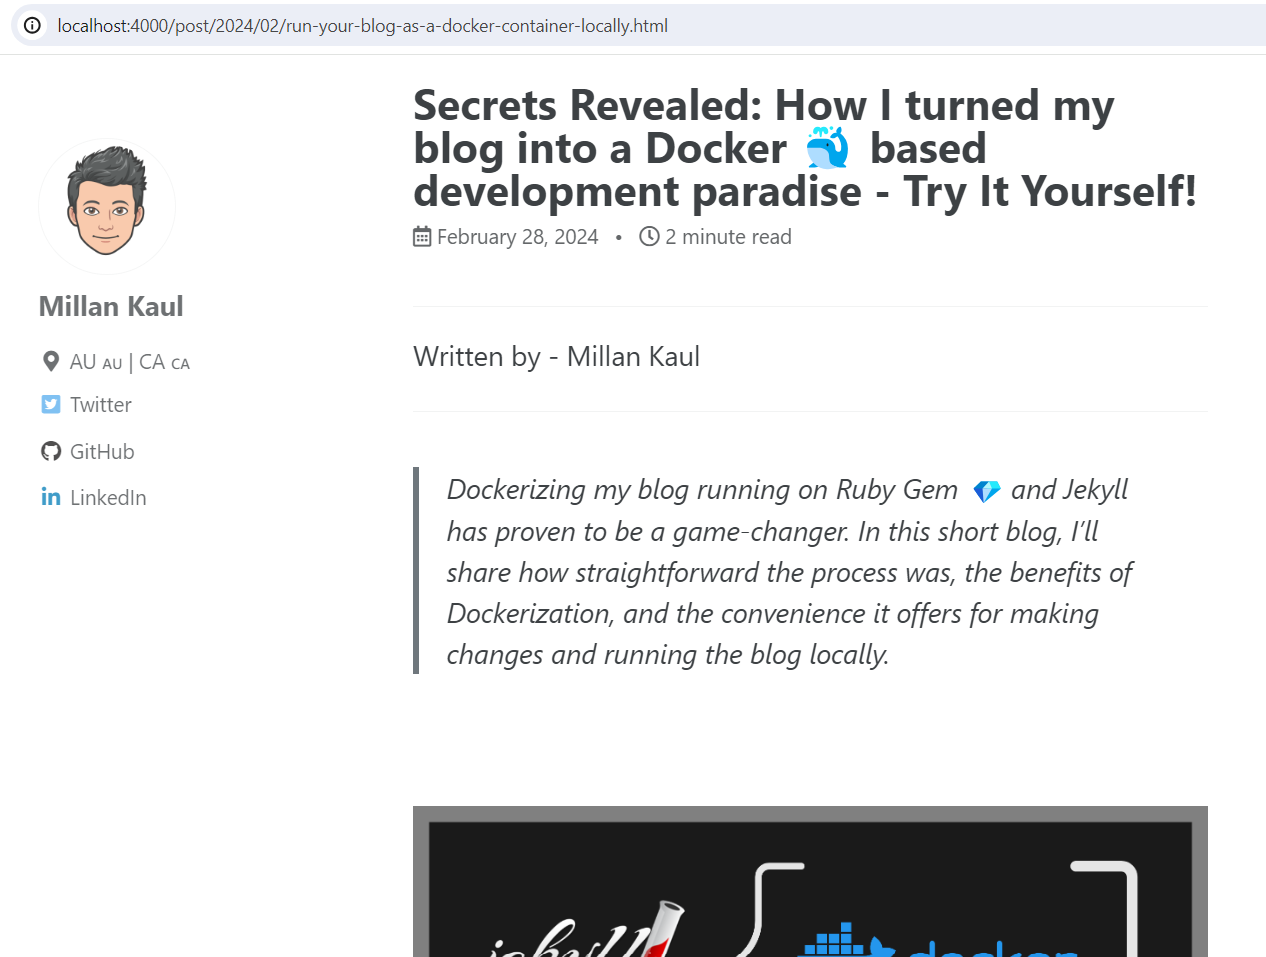
“Image showing running blog on local

Want to learn more❓
Follow Quality With Millan or Share it on LinkedIn


